The balayage hairstyle has become more and more popular in recent years. A big question that might come up for people is if you can transition from highlights, another common hairstyle, into a balayage. Make sure to keep reading if you want to find out!
It is possible and relatively simple to go from highlights to balayage. Balayage is the process of creating a multi-layered color to hair, and starting with highlights gives a great base to transition into balayage as the hair grows out.
If you are curious if you can easily transition your highlights into a balayage, then you have come to the right place! We have information that you need to know about transitioning your highlights into a balayage, so make sure to keep reading to find out more.
Table of Contents
What is a Balayage?
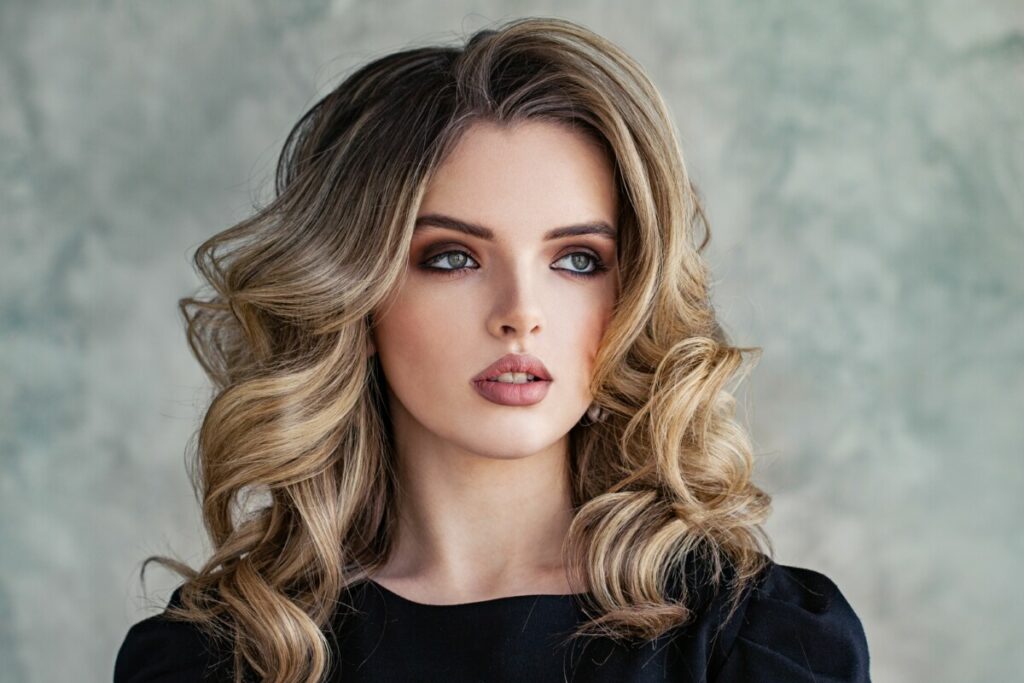
Before we even get into what the pros and cons are and how you transition from highlights into a balayage, I am going to explain what a balayage is just in case you are unaware. Balayage is the process where you give your hair a natural multi-layered color design, with the color starting away from the roots.
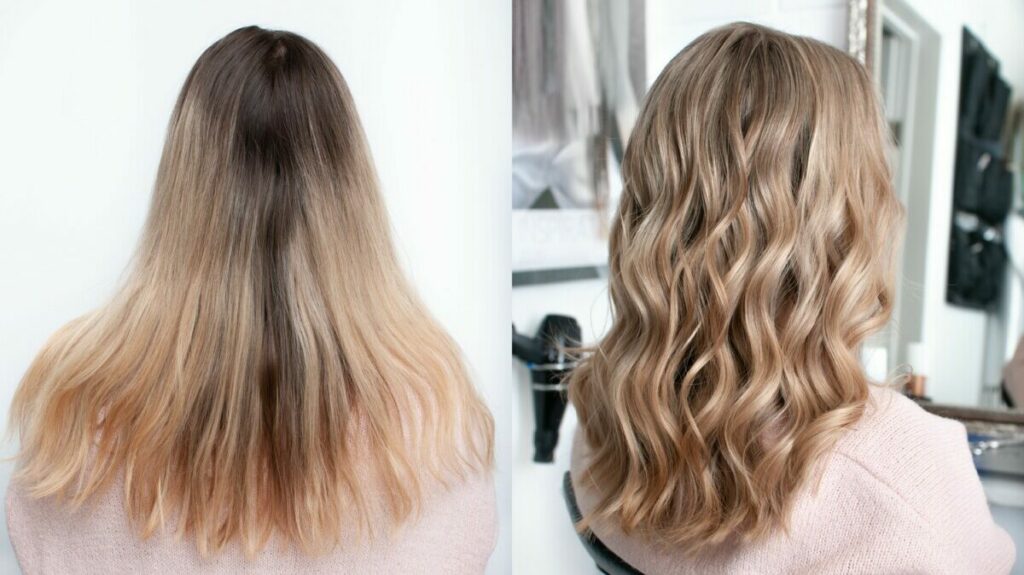
If you are wondering what the difference between balayage and highlights is, it is the simple fact that in balayage the color starts farther away from the roots of the hair while highlights start at the roots. This means that a balayage hairstyle is going to have a more natural appearance when compared to highlights.
Can You Turn Highlights Into Balayage?
As mentioned earlier, you can go from highlights into a balayage hairstyle, however, you are going to have to wait a bit in order for your hair to grow out. Typically, you are going to want to let your hair grow out anywhere from 5 to 10 centimeters so that the color isn’t completely in your roots, and then you can begin the balayage process. If your hair grows quickly, you will likely only have to wait a few weeks for your hair to grow enough to get a balayage.
Process of Going from Highlights to Balayage
Here is what you will need to do to go from highlights to balayage at home.
Gather Tools and Products
After your hair grows out enough, you are going to need to get all of the equipment that you are going to be using during the hair-dying process. Fortunately, you won’t need a lot of things, and what you do need can easily be found in a variety of kits. The equipment you will need includes:
- Mirrors
- Vaseline
- Hair comb
- Old towels
- Hair dye clips
- Disposable gloves
You also are going to need some bleach and a developer. To finish, you are going to need a hair dye that is slightly lighter than your natural color, a dye darker than your natural color, and a last dye for the babylights.
Prepare Hair

You aren’t going to want to wash your hair the day you dye it, as the greasier your hair is, the better a dye will take hold. You are going to want to comb the hair to remove any knots and then divide the hair into different sections. Leave the back out, as that is the first area we will work on.
Dyeing the Lowlights
The lowlights are the back of your hair and you are going to dye these hairs a darker color in order to give more depth to your hair. You will want to add lowlights to the entire back section of your hair.
Dyeing the Babylights
Since you have highlights already, you are able to move straight onto babylights, which are small highlights that are applied throughout your hair. You will want to start the babylights a few centimeters away from the roots at the closest.
Wait Time
Now you are going to want to wait for the colors to take effect. This process is likely going to take 30 to 45 minutes, but you will want to be checking to make sure you are getting the desired color result from all of the dyes.
Root Shadow
This is the time when you are going to get to decide if you want to redye the roots of your hair and redo your highlights, or you can keep your highlights and skip these steps. If you choose to redo your highlights, you are going to want to dye and choose the color you want to redo your hair to.
Finishing Touches
The last few things you are going to want to do is add some of the final touches, including adding some toner to tone your highlights. Before you tone your highlights, rinse the dye out of your hair. Remember, don’t turn off the water until it runs clear. You will then use a toner to tone your hair.
Remember, if you are doing this at home on your own for the first time, the results may not be the best, however, just like with all other things, practice makes perfect. If you keep at it, before long you will be dying the hair perfectly and making the balayage look professional.
Benefits of Balayage for Highlighted Hair
Once you decide to transition from your highlighted hair into a balayage, you are going to see a variety of different benefits, including:
- Having a balayage is much healthier for your scalp.
- You are going to have less upkeep, which is going to save you a lot of money on salon visits.
- It will be easier to tone since you have a base with the highlights already.
- Since you are starting out with highlights, you will have multiple-tone colors, adding more depth and dimension to the balayage.
- You also are going to have a very natural-looking color transition.
Disadvantages of Balayage

But, you are going to have to deal with a few negatives as well, including:
- You may need multiple tries to get the coloring perfect, which will cost you a bit of extra money.
- Balayage is not a very good option if you are dealing with greying hair.
- You naturally have dark hair, the balayage may end up turning into a slightly reddish color, throwing the look off.
We wish you the best of luck with transitioning your hair from highlights to a balayage!
